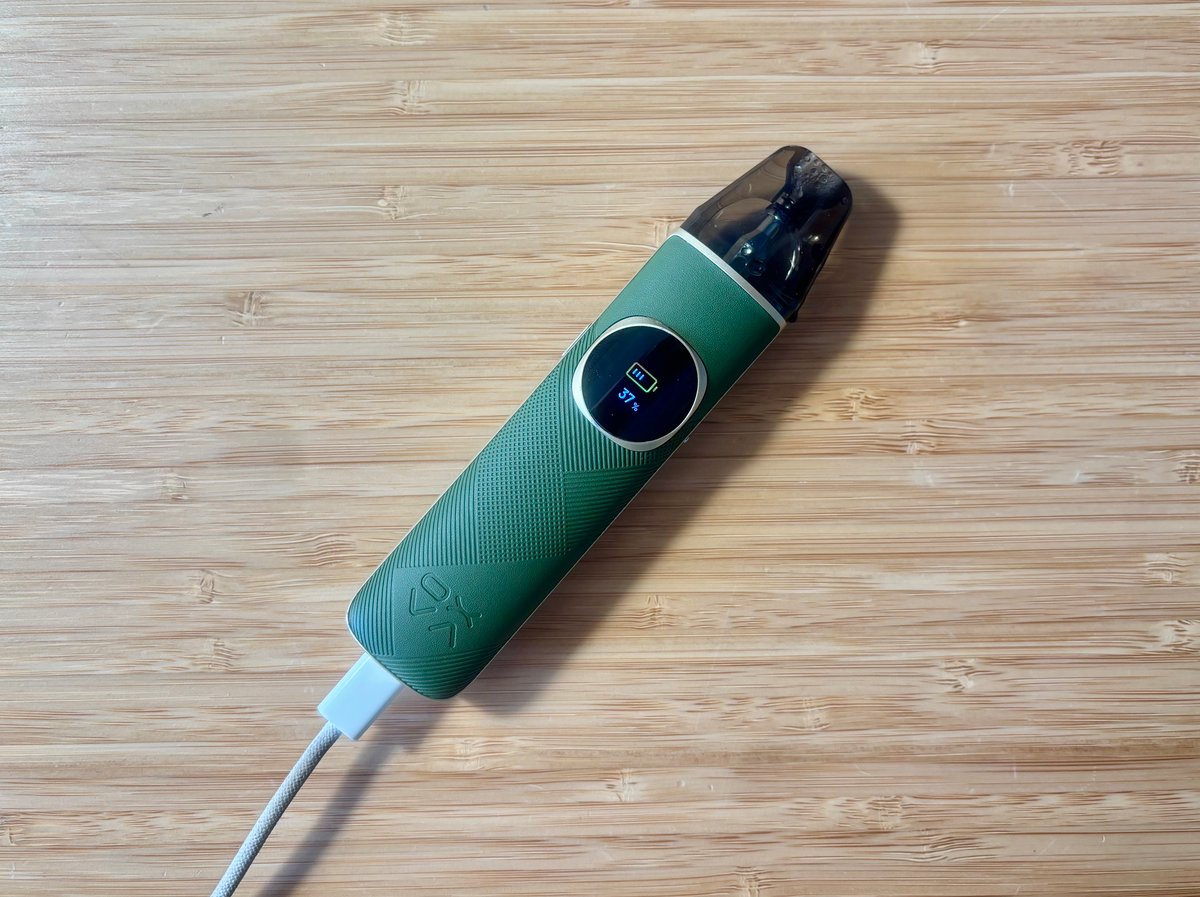
How to Charge Your First Vape Kit

How to charge your first vape kit is simple: it'll arrive with enough charge to start vaping straight away, but a full top-up before your first proper session calibrates the battery and stops it dying on you mid-flavour. Below we cover finding your USB-C or micro-USB port, picking a safe power source, realistic charge times by mAh, and what those battery light colours actually mean. Follow it and you'll get consistent all-day performance without stressing the cell.
Do You Need to Charge a New Vape Kit Before First Use?
Short answer: no, not usually. Almost every rechargeable pod kit and box-mod kit in the UK ships with enough charge to start vaping straight out of the box. Unbox it, prime the coil, fill the pod, and you are away. That said, giving it a full charge first is the smarter move, and we will explain why below.
Most kits arrive at 30-50% charge
Manufacturers ship batteries part-charged for storage and transit safety, so your new kit will typically land somewhere in the 30-50% range. That is plenty for a first session, and the battery light will tell you where you stand once you power it on.
A few things worth knowing:
- Refillable pod and box-mod kits can be used immediately, but they will not last a full day on that shipping charge.
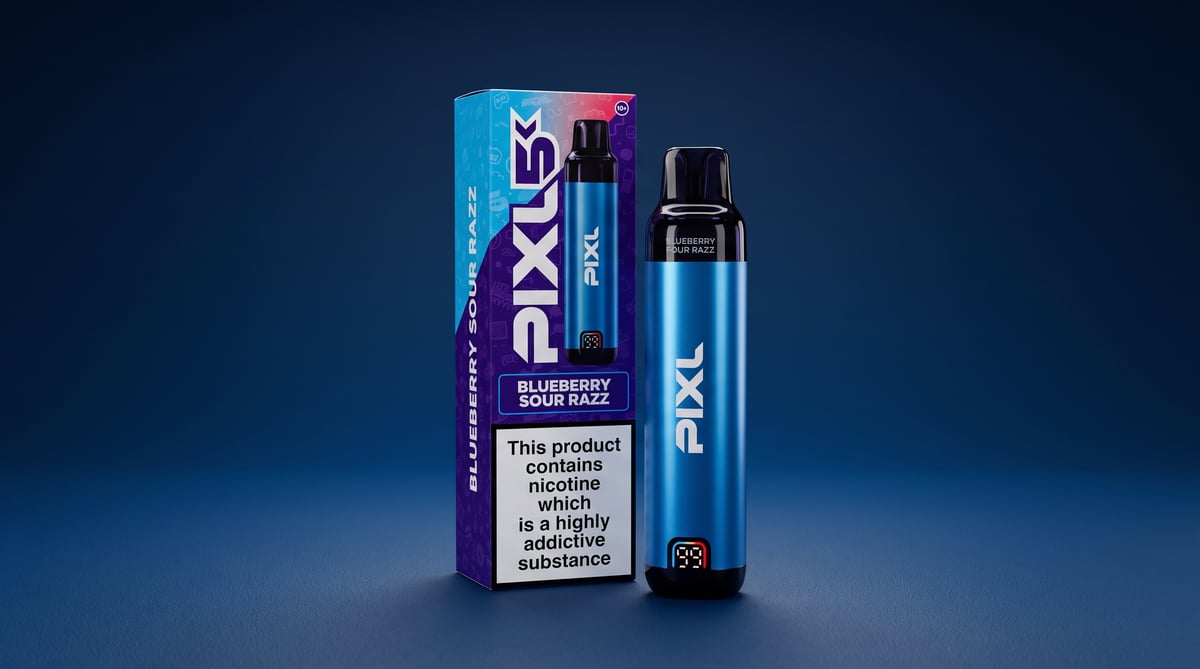
- Rechargeable big-puff kits like the PIXL 8000 and Nera 15K are pre-filled and ready to go, but the battery still needs topping up once it runs down before the e-liquid is finished. That is the whole point of a rechargeable disposable-style device: the juice usually outlasts a single battery charge.
- If you are still deciding between formats, our How To Choose Your First Vape Kit guide breaks down pods, mods and rechargeable big-puff kits side by side.
Why a full charge before first use helps
Even though you can vape it right away, we always charge a new kit to full before the first proper session. Two reasons.
First, it calibrates the battery indicator. A full top-up gives the meter a clean reference point, so the light or on-screen percentage reads more accurately from day one. Second, it gives you a consistent first session. There is nothing worse than getting to grips with a new kit only for it to die on you twenty minutes in, so a full battery means you get the true flavour and vapour performance from the start rather than a fading, low-power version of it.
Ten minutes on charge before you unbox everything and prime the coil, and you will be ready for a full first session rather than a quick taster.
How to Charge Your Vape Kit Step by Step
Charging a pod kit is simple once you know the port and pick the right power source. The two things that trip people up are using the wrong end of a fast-charge brick and forcing a cable in the wrong way round. Get those right and you will keep the cell healthy for the life of the kit.
Finding the charging port (USB-C vs micro-USB)
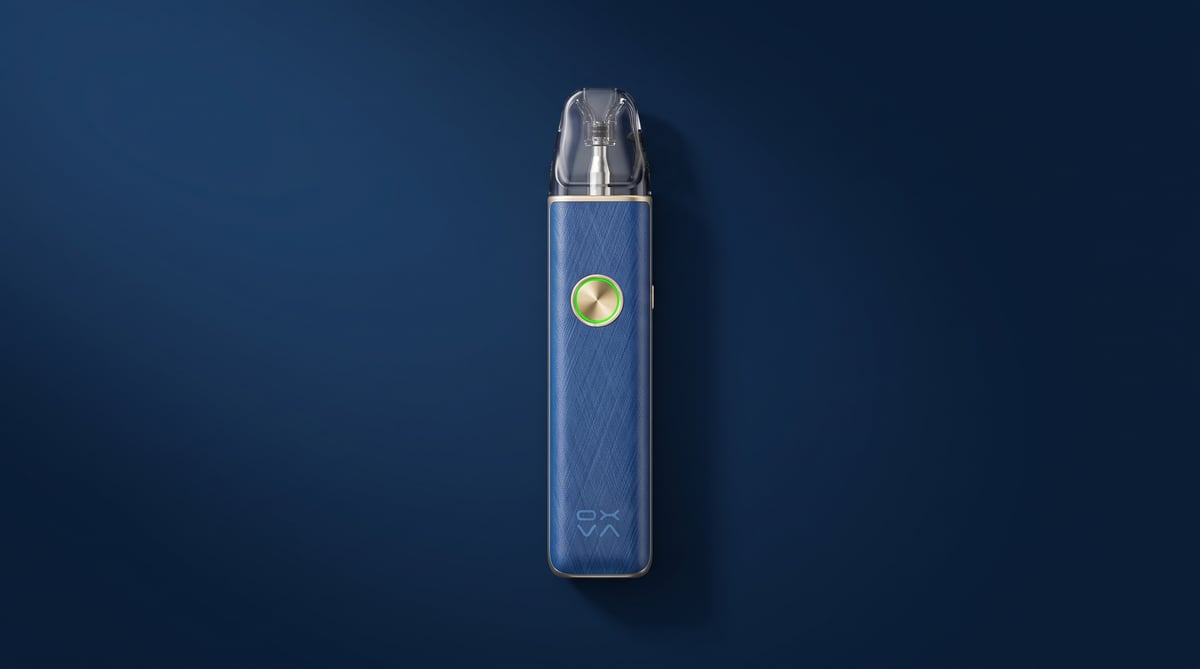
Most modern UK pod kits charge over USB-C, the small oval reversible port. The XROS 6 and the OXVA NeXLIM 2 both use USB-C, as do nearly all pod kits released in the last couple of years.
- USB-C: oval, reversible, plugs in either way up. The current standard.
- Micro-USB: older, trapezoid shape with a definite top and bottom. Still found on some budget and older kits.
The port sits on the base or side of the device. If your kit came with a USB-C cable in the box, that is your port sorted. Not sure what you are actually holding? Our Vape Devices Explained guide breaks down pod kits, box mods and everything in between.
Connecting the cable correctly
Plug the cable into the device first, then into the power source. USB-C goes in either way, so never force it. If it resists, you are almost certainly on a micro-USB port that only fits one way round, so flip it.
A loose or wobbly connection is the most common reason a kit will not charge, so seat the cable fully until it clicks or sits flush.
Charging from a laptop, plug or power bank
Use a low-output source. A laptop USB port, a 5V phone charger or a modest power bank are all ideal for pod kits.
Avoid fast-charge tablet and laptop bricks that push more than the device's rated input, as using a charger above the device's rating stresses the cell and raises the fire risk. Check the small print on your kit or its manual for the rated input, usually 5V and around 1A to 2A for a pod.
- Laptop USB port: gentle and reliable, our go-to for an overnight-free top up.
- 5V phone charger: fine, just avoid the high-wattage fast-charge plugs.
- Power bank: handy on the go, pick a standard 5V output rather than a fast-charge model.
Pod kit charging
Built-in battery, USB-C in
- Plug USB-C into the pod kit first.
- Connect the other end to a laptop or 5V charger.
- Watch for the charging light (steady or pulsing depending on the kit).
- Unplug once the light shows a full charge.
- Never leave a built-in cell charging unattended overnight.
Box mod / removable-battery charging
External 18650 or 21700 cells
- Where possible, charge cells in a dedicated external battery charger.
- Check the wraps for tears before charging, damaged wraps are a fire risk.
- Match a matched pair if your mod uses two cells.
- Use the correct polarity, most chargers are spring-loaded and clearly marked.
- Remove cells once fully charged, do not leave them sitting in the bay.
:::
Charging the OXVA NeXLIM 2 or a Vaporesso XROS 6 follows the same pod routine: cable into the device, then a modest 5V source, and unplug when full.
How Long Does a Vape Kit Take to Charge? (Battery mAh Explained)
Most beginner pod kits full-charge in 30 to 60 minutes. Larger box mods with bigger cells take a good deal longer, often two to three hours from flat, because there is simply more capacity to fill. The number that decides both is the battery's mAh rating.
Typical charge times by battery size
Charge time scales with capacity. A small pod holds less, so it fills faster.
- 400-1000mAh (compact pod kits): roughly 30-60 minutes from flat
- 1000-1500mAh (larger pod kits): around 60-90 minutes
- 1500mAh+ (box mods and higher-output kits): two to three hours, sometimes more on a single internal cell
Actual times vary with the charging output. A kit that supports fast charging over USB-C will top up noticeably quicker than an older micro-USB unit, provided you feed it enough amperage from the plug.
Reading mAh capacity for your model
mAh (milliamp hours) is the size of your fuel tank. The bigger the number, the more puffs you get between charges and, all else equal, the longer it takes to fill.
Where to find it:
- Printed on the device itself, usually near the charging port or on the base
- On the box and in the manual under specifications
- On our product pages in the spec list
Capacity is only half the story. How fast you drain it depends on the wattage you run. A sub-ohm tank pulling 40 watts empties a battery far quicker than an MTL pod ticking over at 12. If you are not sure where your kit sits, have a read of What Wattage Should I Vape At? before you judge the battery life.
Real-world battery life between charges
Here is the honest version. A former day-a-pack smoker running an 1000mAh or larger pod kit at MTL wattage will usually get a full day out of a single charge. Push into higher-power DTL vaping and you will be reaching for the cable by mid-afternoon.
We run refillable pod kits day to day and sub-ohm tanks in the evenings, so we mix salts and shortfills in roughly equal measure, and that pattern holds in our own testing. The lower the wattage, the more puffs per mAh.
Vaporesso XROS 6
- Battery: 1200mAh
- Approx charge time: 45-55 minutes
- Port: USB-C Comfortable all-day battery for a compact MTL pod. One of the most popular starter kits on our shelves.
OXVA NeXLIM 2
- Battery: 1000mAh
- Approx charge time: around 45 minutes
- Port: USB-C Adjustable airflow and a solid day of life at pod-friendly wattage. A strong first refillable.
Uwell Caliburn G5
- Battery: 700mAh
- Approx charge time: 30-40 minutes
- Port: USB-C Smaller cell, so quicker to charge but you may top up daily if you vape a lot. Tight, satisfying MTL draw.
OXVA Xlim Go 2
- Battery: 1000mAh
- Approx charge time: around 45 minutes
- Port: USB-C Chunky battery for its size and fast charging. Sensible pick for switchers who want a full day without fuss.
Charge times above are from flat with a standard plug. Fast charging shaves minutes off, and a partial top-up is always quicker than a full cycle.
Reading the Battery Light: What the Colours & Flashes Mean
That little LED is doing more work than most people realise. It tells you when your kit is charging, when it is full, when the battery is running low, and when something has gone wrong. The colours and blink patterns are not standardised across brands, so treat the following as the general rules and always cross-check against your kit's own manual.
Charging vs fully charged indicators
Most kits follow the same broad logic:
- Solid red (or amber): charging in progress.
- Solid green, solid white, or the light switching off: fully charged.
- Pulsing or breathing light: actively topping up, common on pod kits.
Some kits give you a percentage bar rather than a single colour, particularly the more advanced sub-ohm devices with a small screen. On those, a full bar or "100%" is your green light.
One thing worth knowing on a brand-new kit: the battery indicator can misreport until the first full charge cycle completes. Do not panic if a new device shows full almost instantly or jumps around a bit on that very first charge. Let it run one complete cycle and the readings settle.
Low-battery warnings
Your kit will warn you before it dies. The usual signals:
- A colour shift, often to red, as the charge drops toward empty.
- A short burst of flashes when you fire, telling you there is not enough charge left for a proper pull.
- A weaker, thinner vapour as the battery struggles to drive the coil.
Rapid flashing when you press the fire button is the classic low-battery tell. Put it on charge and the flashing should stop once there is enough power to fire again.
Fault flashes (10 blinks etc.)
Not every flash means low battery. A rapid burst of blinks, often three, five, or ten depending on the brand, usually signals a fault rather than an empty cell. The common culprits are:
- A short circuit, sometimes from a damaged coil or moisture on the contacts.
- A coil not detected, often because a pod or coil is not seated properly.
- A resistance reading outside the kit's safe range.
The exact blink count and its meaning are brand-specific, so your manual is the final word here. If your device keeps flashing and refuses to fire even on a full charge, work through our Why Won't My Vape Fire? guide. Nine times out of ten it is a coil that needs reseating or replacing, and it is a two-minute fix once you know where to look.
Vape Charging Safety: Fire Risks & How to Avoid Them
Lithium batteries fail rarely, but when they do, they fail fast. The safety rules below are not optional, and they take seconds to follow. Get them right and the fire risk drops to near zero.
Never charge unattended or overnight
Charge your vape on a hard, non-flammable surface. A kitchen worktop or a tiled shelf is ideal. Keep it well away from beds, sofas, curtains and anything else that catches easily.
The single rule we would not budge on: never leave a vape charging overnight or unattended. So no, it is not safe to charge a vape overnight. If a cell does fault while you are asleep or out of the room, there is nobody there to unplug it or move it. Charge it when you are up and about, then pull it off the cable once it is done.
- Charge on a hard, heat-resistant surface
- Stay in the room, or at least in the house and awake
- Unplug as soon as it hits full, do not trickle it all night
- Never charge a kit that has been dropped in water or feels hot to the touch
Use the right cable and avoid cheap adapters
Use the cable that came in the box, or a reputable branded USB-C lead. That is the whole of it on cables.
Cheap unbranded adapters are the weak link in most vape charging fire risk stories. They cut corners on the components that regulate voltage, and that is exactly what you do not want feeding a lithium cell. Pair a dodgy adapter with a damaged battery and you have the two biggest risk factors sat together.
Stop charging straight away if you spot any of the following:
- A frayed, kinked or split cable
- A port or plug that feels warm while charging
- Swelling, dents or a hissing sound from the kit
- A device that will not hold charge and gets hot trying
A damaged cell does not get better. If yours shows any of those signs, retire it and recycle it properly.
Storing and disposing of lithium batteries safely
Store spare kits somewhere cool and dry, out of direct sun and away from car gloveboxes and radiators. Heat is what pushes a stressed cell over the edge.
When a kit reaches the end of its life, the lithium battery inside must not go in your general waste or recycling bin. Loose lithium cells crushed in a bin lorry are a genuine fire hazard, which is why UK rules keep them out of household waste. Take them to a proper collection point instead, plenty of vape shops and recycling centres take them.
For the full run-through, see our guide on How To Recycle Vapes in the UK, and for the wider picture on your obligations have a look at UK Vaping Laws, Safety & Compliance.
First Charge Problems & Quick Fixes (Competitor Gap)
Most first-charge faults on a new kit come down to three culprits: a dirty port, a coil that hasn't been primed, or a cell that has run flat in the box. Work through them in order before you assume the kit is dead.
Vape won't charge or no light
No light when you plug in is almost never a broken device. In our experience it is one of three things:
- A dirty or blocked port. E-liquid, pocket lint and dust build up in the USB-C port. Have a look inside with a torch, then clear it gently with a dry cotton bud or a blast of compressed air. Never poke metal in there.
- A faulty or underpowered cable. Swap the cable and the plug. Cheap cables and low-output USB ports on old laptops are common offenders. Use a proper mains adapter rated at 5V.
- A fully drained cell. A kit that has sat in a warehouse can arrive flat enough that the light doesn't come on straight away. Leave it plugged in for a few minutes and the cell usually wakes up and the charge light kicks in.
If you have tried a known-good cable, a different mains plug and a clean port with no light at all after ten minutes, that is when you contact the retailer.
Charges but won't fire
A brand new vape that charges fine but produces no vapour usually has nothing wrong with the battery. Nine times out of ten the coil isn't primed or the pod isn't seated properly.
- Prime the coil first. A dry coil won't fire cleanly and can give you a burnt first pull. Drip a few drops of e-liquid onto the exposed cotton, fill the pod, then let it stand for five minutes. Our full walkthrough is here: How to Prime a Vape Coil / Pod.
- Reseat the pod or coil. Pull it out and click it firmly back in. A pod that isn't fully home won't make contact with the battery.
- Check the fire button or auto-draw. Most pod kits fire on inhale, but some need five quick presses to switch on. Check the manual.
If it fires but tastes off from the first go, that is a priming issue too, and we cover the causes in Why Does My Vape Taste Burnt?.
Gets hot while charging
A slightly warm device on charge is normal. A device that gets genuinely hot to the touch is not, and you should treat it as a warning.
Stop immediately. Unplug the cable at the wall and disconnect the device. Excessive heat during charging can indicate a failing cell, and a failing cell is a fire risk. Do not keep using it, do not try to charge it again on a different cable, and do not leave it unattended while it cools.
Once it is cool and disconnected, contact the retailer. A cell that overheats on a normal charge has a fault, and no quick fix at home makes it safe to carry on.
Charge Cycles & Battery Lifespan: Getting the Most From Your Kit (Competitor Gap)
No vape battery lasts forever. The good news is that with a bit of care, you can push the lifespan of your kit well past what most people manage, and know exactly when it is time to move on.
How many charge cycles a vape battery lasts
The integrated lithium cells in most pod kits typically last around 300 to 500 full charge cycles before you notice the capacity dropping off. A cycle means one full 0 to 100% charge, so two half-charges count as one cycle rather than two.
For a day-to-day pod vaper charging once a day, that works out to roughly a year to eighteen months of solid service before run-time starts to shorten. Heavier sub-ohm setups draw more current and can wear their cells faster. It is not a hard cliff, more a gradual decline where you find yourself reaching for the cable earlier each day.
Habits that extend battery life
Lithium cells hate two things: being run flat and being left plugged in for hours after they are full. Get these right and you will comfortably stretch your cell past the low end of that cycle range.
- Top up before you hit empty. Draining to 0% puts the most stress on the cell. Plugging in around 20 to 30% is far kinder than running it dead.
- Skip the overnight charge. Once your kit hits 100%, leave it on the cable and you are holding the cell at full charge for no reason. A quick daytime top-up beats an eight-hour overnight session.
- Charge at room temperature. Cold and heat both age lithium cells. Avoid charging a kit that has been sat in a freezing car or on a sunny windowsill.
- Use a sensible charger. A standard 5V USB port or a decent mains plug is plenty. Fast-charge blocks meant for phones can push more current than a small vape cell wants.
Between MTL pods through the day and sub-ohm tanks of an evening, our own kits get put through it daily, and these habits are the difference between a kit that fades at a year and one that keeps going well beyond it.
When it's time to replace the kit or removable cell
You will feel it before you see it. When run-time drops sharply from what you are used to, or the kit takes noticeably longer to charge than it did when new, the cell is on its way out.
Watch for these signs:
- A once-a-day charge suddenly becoming twice or three times daily
- The kit getting warmer than usual while charging
- Charging that crawls or stalls before reaching full
- The battery light behaving erratically even after a clean charging port
On most integrated pod kits, the cell is sealed in, so a worn battery means replacing the whole device. Some larger kits take a removable cell, in which case a fresh 18650 or 21700 sorts it out without binning the mod. Either way, do not keep flogging a tired cell, a swollen or overheating battery is a safety issue, not just an inconvenience.
If you are stepping up from a disposable and weighing your options, our guide on How To Switch From Disposables To Reusable Vapes covers how a rechargeable kit changes your day-to-day, and why the maths works out better over time.
Frequently Asked Questions
Most pod kits with USB-C offer pass-through charging, so technically you can. That said, we'd steer you away from it, as vaping while plugged in builds extra heat inside the battery and wears it down faster over time. For your first kit especially, it's worth sorting out a proper charge cycle and letting it finish before you pick it back up.
Give your first charge 30 to 60 minutes for a typical small pod kit, or until the indicator light confirms it's full. Don't be tempted to unplug early just because it looks topped up. That first complete charge helps calibrate the battery gauge, so your readings are accurate from day one.
Yes, we'd always advise against it. Lithium batteries carry a small fire risk if something goes wrong, and charging unattended overnight means nobody's around to catch an issue early. Modern kits include safety cut-offs, but faults do slip through, so unplug once it's full rather than leaving it going while you sleep.
First, check the USB-C port isn't clogged with fluff or dust, and swap in a cable you know works properly. If the cell has drained completely, it can take a few minutes of charging before any light shows, so don't panic if nothing happens straightaway. Still nothing after ten minutes plugged into a known good source usually points to a hardware fault worth flagging to us.
Stick with the cable that came in the box and plug it into a low-output source, such as a laptop USB port or a standard 5V phone charger. Steer clear of high-output fast chargers rated well above what your device needs, as they can stress the battery. When in doubt, slower and steadier wins with vape batteries.
Most kits either switch the LED off or change its colour, commonly from red to green or white, once charging is complete. Exactly how this works varies between models, so it's worth a quick check of your kit's manual when it first arrives. Once you know your device's signal, spotting a full charge becomes second nature.
About the author

Related guides
Why Does My Vape Taste Burnt? Causes, Fixes & How to Prevent It
Why does my vape taste burnt? Learn the causes behind burnt hits on coils, pods and disposables, plus fast fixes and prevention tips.
Why Won't My Vape Fire? The Complete Troubleshooting Guide
Learn why won't my vape fire, from the fire lock and flat battery to dirty contacts, error codes and false alarms, plus when to recycle it.
Why Is My Vape Leaking? Causes & Fixes
Vape leaking juice into your mouth or air holes? Find out why is my vape leaking by symptom, then fix it fast, from flooded coils to loose seals.