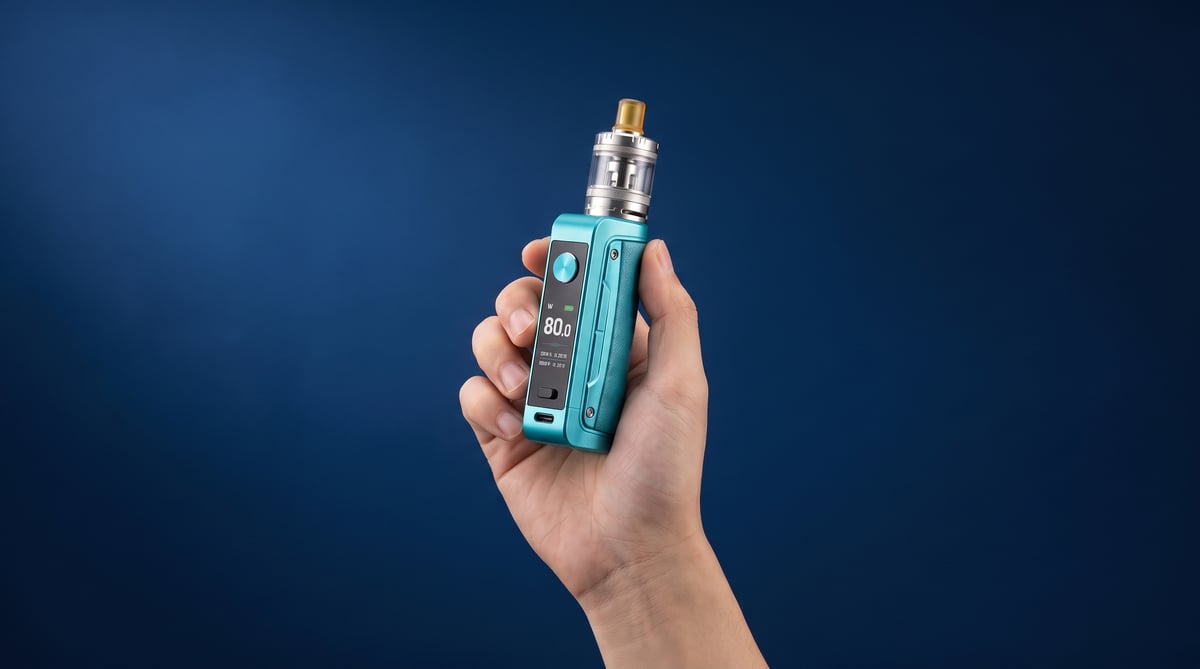
Why Won't My Vape Fire? The Complete Troubleshooting Guide

A vape that won't fire is usually fixable in minutes, most of the time it's the fire lock, a flat battery, a short circuit due to liquid or a pod/coil that hasn't seated properly, not a dead device. This guide walks through the 60-second checks first, then decodes exact blink codes and error symbols across mods, pod kits and disposables, before moving on to cleaning the terminals that actually cause the fault to keep coming back. Work through it in order and you'll know, and fix, exactly why won't my vape fire before you reach for a replacement.
Quick 60-Second Fixes (Try These First)
Nine times out of ten, a vape that won't fire isn't broken at all. It's fire-locked, low on charge, or has a pod that isn't sitting properly. Run through these three checks before you assume the worst, they take under a minute and sort the vast majority of dead-feeling devices.
5-click fire lock
Five rapid clicks of the fire button locks and unlocks nearly every pod mod and box mod on the market. It's a safety feature to stop the device firing in your pocket or bag, and it's the single most common reason people think their vape has died.
If you've searched "geek vape fire locked how to unlock" or "geekvape fire locked", you're in very good company. It's one of the most common queries we see, and it's almost never a fault. Here's the fix:
- Click the fire button five times quickly in a row
- Watch the screen or LED, most devices flash a lock or unlock message
- Try firing again
The rhythm matters. Too slow and the device ignores you. Five sharp taps within a couple of seconds is what triggers it. If your screen lit up but the coil still won't fire, you've likely just locked it rather than unlocked it, so give it another five clicks and check again.
Is it charged, and is the battery actually connecting?
A low battery often blinks at you instead of firing, and it's easy to read that as a dead device. Charge it to full before you go any deeper into troubleshooting, plenty of "vape fire button not working" problems solve themselves at 100 percent.
Two things to check while it's on charge:
- Is the cable working? Try a different USB-C cable and a different plug. Cheap or worn cables are a frequent culprit.
- Is the battery seating? On mods that take removable 18650 or 21700 cells, a battery that's slightly loose or fitted the wrong way round breaks the circuit entirely. Pop it out, check the orientation against the markings inside the door, and refit it.
Reseat the pod, coil or tank
A pod or coil that isn't pushed fully home breaks the connection and stops the device firing, even when everything else is fine. Before you write off a coil as dead, reseat it.
- Pull the pod or unscrew the tank completely, then click it firmly back into place
- Check the contact points are clean and dry (a stray drop of e-liquid can interrupt the circuit)
- Make sure a screw-in coil is tightened by hand, snug but not forced
If you're newer to all this and want the groundwork on how pods, coils and mods actually fit together, our Beginners' Guide to Vaping walks through it properly. Worked through all three of these and still nothing? Head to the next section, because your device is probably trying to tell you something with a blink code.
Decode the Blink Codes & Error Symbols
Most error codes are the device telling you it cannot see the coil, not that it has died. Nine times out of ten it is a connection issue you can fix in under a minute, so read the symbol before you write the kit off.
Common on-screen errors: no atomiser / check atomiser / short
A "no atomiser" or "check atomiser" message means the mod has lost the electrical connection between the coil and the battery. The device is fine. The link between them is not.
Work through it in order:
- Unscrew the tank or pod, then screw it back on firmly (not overtightened).
- Check the coil is seated properly and pushed fully home.
- Look at the 510 connection or firing pin for stray e-liquid or gunk.
- Try a fresh coil if the message persists with everything reseated.
A "short" or "atomiser short" warning is a different beast. It usually means a coil fault or liquid bridging the terminals. Swap the coil first before assuming the mod is at fault.
What flashing LED patterns mean on pod kits
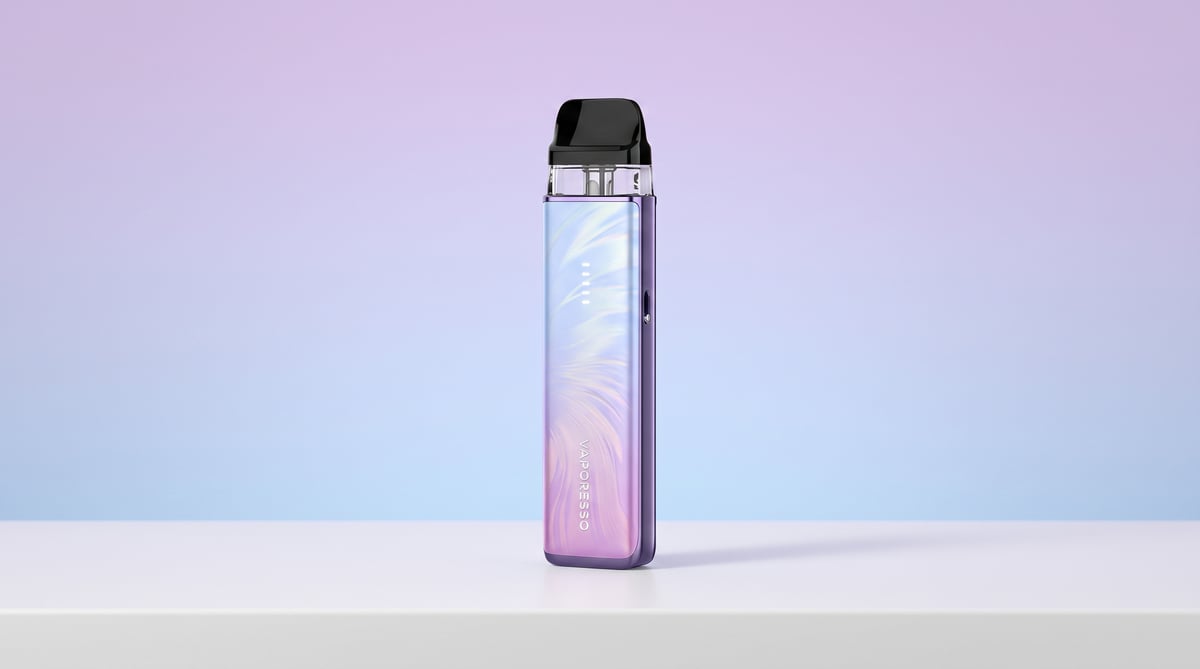
Pod kits without a screen talk to you through the LED. The patterns vary by brand, but two show up again and again.
- Rapid or 10 fast blinks: commonly a short circuit or a coil the device cannot read. Reseat the pod or fit a fresh coil.
- Slow blinks (often 3): low battery. Put it on charge.
Some Geekvape kits also lock the fire button after five rapid presses. If yours has gone dead with no puff, tap the fire button five times quickly to unlock it. That single trick sorts out a huge share of "dead" pod kits.
Brand-specific symbols (PIXL 8000, OXVA, Geekvape)
To search for your specific kit and the issue you may be facing, use our Hardware Hub to look through documentation and guides for popular vape mods.
Symbol / blink pattern
- PIXL 8000 fire symbol flashing
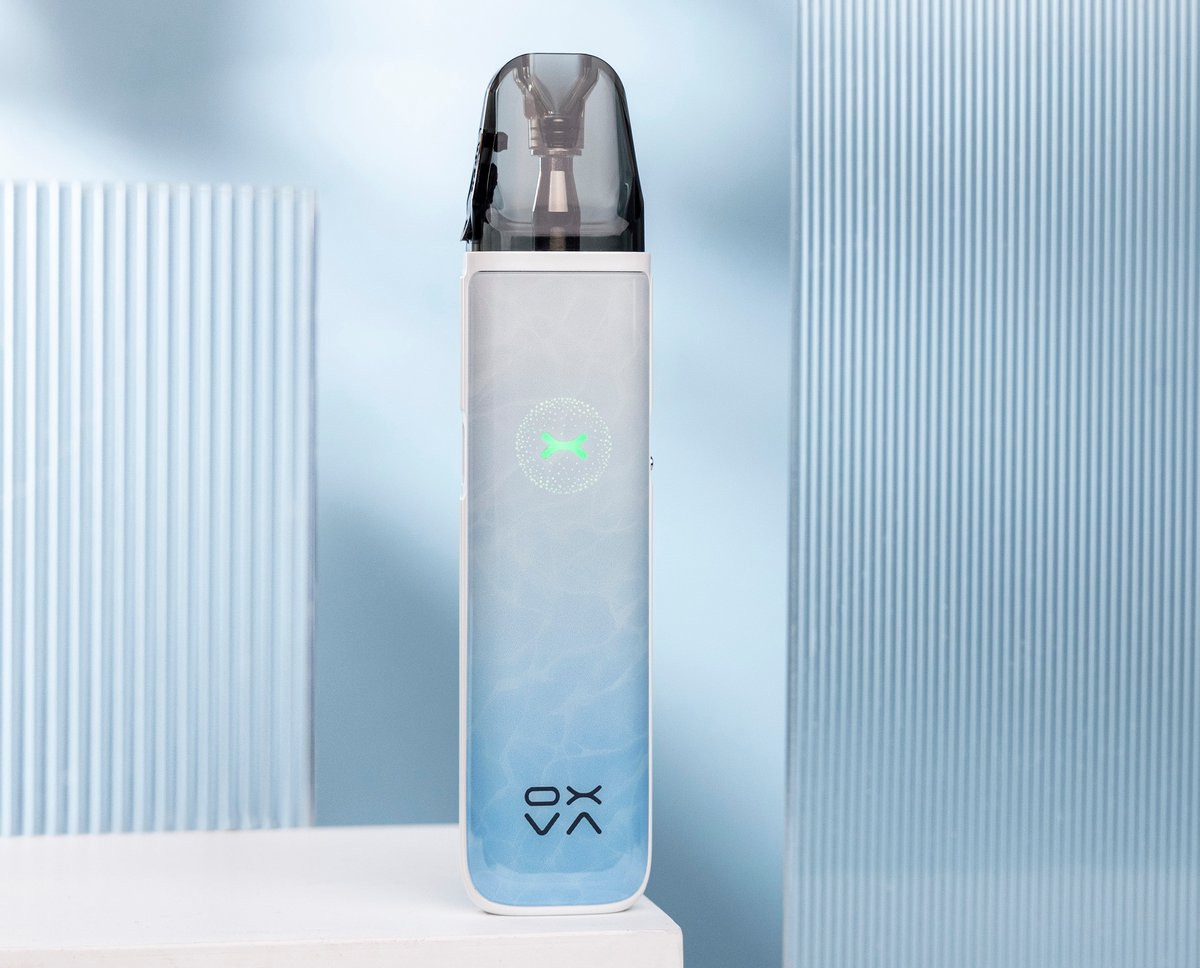
- OXVA XLIM fire button, no vapour
- OXVA XLIM slow blink
- Geekvape fire icon locked
- Generic pod: 3 slow blinks
- Generic pod: rapid flashing
Meaning + fix
- Coil not detected or pod not seated. Remove the pod, wipe the contacts, reseat it firmly. See the PIXL 8000 guide for its refill and pod handling.
- Firing lockout or draw not registering. Five quick presses to wake it, then check the pod is clicked in. The XLIM GO LITE uses the same button logic.
- Low battery. Charge it before you assume a coil fault.
- Fire button locked. Press the fire button five times in quick succession to unlock.
- Low battery. Put it on charge.
- Short circuit or unreadable coil. Reseat the pod, then try a fresh coil.
If the symbol keeps returning after a clean coil and a solid reseat, the fault is likely in the pod or the terminals themselves, which we cover in the next section.
Fix by Device Type: Mods vs Pods vs Disposables
The reason your vape won't fire depends heavily on what you're holding. A mod, a pod kit and a disposable each fail in their own way, so we've split the fixes out properly. If you're still working out which camp your device sits in, our Vape Devices Explained guide sorts the terminology.
Mods: firing pin and 510 connection
A mod that won't fire, or throws a "no atomizer" or "check atomizer" message, almost always has a 510 connection problem. The 510 is the threaded port your tank screws into, and inside it sits a spring-loaded firing pin.
- The pin can recess over time and lose contact with the tank base.
- On regulated mods with an adjustable pin, a gentle turn to raise it a fraction usually restores the connection.
- Screw the tank down snug but not gorilla-tight, overtightening flattens the pin.
One firm safety line here: never adjust or file a firing pin on a hybrid or mechanical mod. Those sit outside the scope of these fixes and carry real risk. This advice is for regulated box mods only.
Pod kits: contact points and detection
Pod kits fire through contact rather than a screwed thread, and that's exactly where they trip up.
- Dirty magnetic contacts. E-liquid creep and pocket lint build up on the connection points. Wipe the pod contacts and the bay in the device with a dry cotton bud.
- Protective film still on. New pods and new kits sometimes ship with a thin sticker or clear film over the contacts. If a brand-new pod vape isn't firing, check for it and peel it off.
- Seated wrong. Reseat the pod firmly until the magnets click home. A half-seated pod won't be detected.
Disposables: the pull-tab, stickers and dead battery
A disposable vape that won't fire has two usual suspects, and one is embarrassingly simple.
- The airflow sticker. Many disposables ship with a small sticker or pull-tab sealing the airflow. Leave it on and the draw-activated sensor never triggers. Peel it off the base.
- A genuinely flat battery. Non-rechargeable disposables die when the cell runs out, even with liquid left inside. If there's no light and no vapour after a few pulls, it's spent.
If you're finding yourself burning through disposables and want more control, How To Switch From Disposables To Reusable Vapes walks through the move to a refillable pod.
Here's the three at a glance, something you won't find laid out side by side elsewhere:
Mod
Top firing causes Recessed 510 firing pin, tank not seated, "check atomizer" error.
The fix Gently raise the adjustable pin on a regulated mod, reseat the tank snug. Never on hybrid or mech mods.
Pod
Top firing causes Dirty magnetic contacts, protective film left on, pod not clicked home.
The fix Wipe contacts with a dry cotton bud, peel any film, reseat until the magnets click.
Disposable
Top firing causes Airflow sticker still attached, flat non-rechargeable battery.
The fix Remove the base sticker or pull-tab. If there's no light after that, the battery is spent, recycle it.
Clean the Connections: Terminals & Firing Pin (Tools & Steps)
E-liquid residue on your contacts is one of the most common reasons a vape fires intermittently or refuses to fire at all. A bit of juice creeps down from the tank or pod, dries on the metal, and now the connection between battery and coil is patchy. The device thinks nothing is attached. Ten minutes with a cotton bud usually sorts it.
What you need (cotton bud, isopropyl, dry tissue)
Keep it simple. You do not need a toolkit for this.
- Cotton buds for getting into the terminal and thread
- Isopropyl alcohol (99% if you can get it) for stubborn residue
- Dry tissue or kitchen roll to finish and remove any moisture
- A small flathead or spudger if your firing pin needs a gentle adjustment (more on that below)
Isopropyl evaporates cleanly and leaves no residue, which is why we reach for it over water. Use it lightly. You are damping the cotton bud, not soaking the device.
Cleaning battery terminals and 510 threads safely
Work through it in order. Power off first, always.
1. Gather your tools
Cotton buds, isopropyl, dry tissue, and a soft cloth. Do this on a flat surface with good light so you can see the residue on the contacts.
2. Power off and remove the battery
Lock the device (usually five clicks) and switch it off. If you run a mod with a removable cell, take the battery out completely before you touch any contacts.
3. Clean the terminals
Take a dry cotton bud to the positive and negative contacts on the battery and inside the battery bay. For dried juice, dampen a fresh bud lightly with isopropyl and work it round the metal. Do not flood it.
4. Clean the 510 pin and thread
Run a cotton bud around the 510 connection where the tank or pod sits. This is where residue collects most. Clean both the pin on the device and the base of your tank or pod.
5. Reassemble and test
Let everything dry for a couple of minutes so the isopropyl fully evaporates. Refit the battery, screw the tank or seat the pod back on, power up, and fire. A clean connection fires instantly.
If it still will not fire after a proper clean, the coil or pod may be the culprit rather than the connection. Residue on contacts and a poorly seated coil often show the same symptoms, so it is worth checking both.
Adjusting a stuck firing pin, and when NOT to
On a regulated pod or box mod, a firing pin that has been pushed flat can stop the tank making contact. If the pin sits recessed and cleaning has not helped, you can ease it out very gently with a spudger or the corner of a flathead. Barely any pressure. You are coaxing it a fraction of a millimetre, not levering it.
Never adjust the firing pin on a mechanical or hybrid mod. There is no circuit board in the way on those devices, so a pin sitting wrong can create a direct short across the battery. That is a genuine safety risk. Rebuildables and mechs are outside what we cover here for exactly this reason, and if that is your setup, stop and take it to someone who builds.
This whole job overlaps with good coil habits. A properly primed coil floods less, leaks less, and drips less juice onto your contacts in the first place. We vape every day and test what we sell, and in our own testing priming a mesh coil for a good five minutes before the first pull is the single biggest thing that keeps firing reliable and stops residue building up fast. If you are unsure on the method, our full guide on How to Prime a Vape Coil / Pod walks it through. And if the mess on your terminals is coming from spitback, have a look at Why Is My Vape Spitting? Causes & Fixes to cut the problem off at the source.
Flooded Coil, Clogging & Refill Timing
A vape that gurgles, spits or gives you a dead pull straight after a refill is almost never broken. Nine times out of ten it is a wicking or saturation problem, and both are fixable in under a minute without touching a single spare part.
Why it won't fire right after a refill
A fresh refill needs time to soak into the wicking material before you pull on it. Fire a dry or half-saturated coil and you get a weak, dead or burnt hit, and some devices will simply refuse to fire until there is liquid across the sensor.
Give it a few minutes. Here is our routine:
- Refill the tank or pod, then screw or click it back together
- Take two or three gentle primer puffs with the device off (draw air through without firing)
- Wait a good five minutes before the first proper fire
- On a brand new coil, drip a couple of drops directly onto the exposed wicking ports first
In our own testing, priming a mesh coil for a good five minutes before the first pull is the single biggest thing that stops a burnt first hit. It is the same principle after every top-up: the wick has to catch up with the tank.
Flooded atomiser and gurgling fixes
Gurgling, spitback and a muffled draw point to a flooded atomiser, too much liquid pooling in the coil chamber. Overfilling, leaving the tank on its side, or big changes in temperature and pressure all cause it.
To clear it:
- Remove the tank or pod from the device
- Hold it upright over a bit of tissue and blow firmly through the mouthpiece to push excess liquid out through the airflow
- Fold a piece of kitchen roll, hold it against the base and the airflow holes, and let it wick the pooled liquid away
- Reassemble and take a couple of dry primer puffs before firing
That clears the flood and restores the draw without replacing anything. If it floods again within a few pulls, check you have not overfilled past the max line and that the coil is seated properly with its seals intact.
How VG/PG ratio affects firing and wicking
Matching your liquid to your coil is the single best way to avoid clogging and choked firing. This is the thing we see catch people out most often when they swap between kits.
- High-VG liquid (70/30 shortfills) is thick. Put it in a low-power MTL coil with tiny wicking ports and it cannot wick fast enough. The coil clogs, the draw chokes, and you get dry, dead hits.
- 50/50 salts are thinner and wick freely through small-bore pod coils, which is exactly what MTL kits are built for.
- Sub-ohm mesh coils have big wicking ports designed for thick 70/30 juice, so high VG flows through happily.
The rule of thumb: thin liquid for low-power pods, thicker liquid for sub-ohm tanks. Get that wrong and no amount of button-pressing will sort the firing. If you are unsure what your coil wants, have a look at How To Match E-Liquid To Your Coil, and for the science behind the blend see Understanding VG & PG in E-Liquid.
We run refillable pod kits day to day and sub-ohm tanks in the evenings, so we mix salts and shortfills in roughly equal measure, and keeping the right liquid in the right device is what keeps both firing cleanly.
"Vape Fire Alarm": Vaping & Smoke Detectors (UK)
Yes, a big enough cloud of vapour can set off a smoke alarm. This is the question nobody in UK vaping seems to answer properly, so let us sort it out. If you have ever exhaled a lungful under a ceiling detector and braced for the shriek, you already know the risk is real.
To be clear, this is not about your device failing to fire. It is the opposite problem: your vape working exactly as it should, right underneath a sensor that mistakes dense vapour for smoke.
Can vapour set off a fire alarm?
Dense vapour can trigger a smoke detector in much the same way smoke does. The alarm is not clever enough to tell the difference. It reacts to particles in the air, and a thick DTL cloud from a sub-ohm tank throws out plenty of those.
Two things push your odds up:
- Cloud density. High-VG shortfills through a low-resistance mesh coil produce far more visible vapour than a 50/50 salt in a pod. The bigger the plume, the higher the risk.
- Proximity. Vapour disperses fast, but if you exhale within a foot or two of a ceiling-mounted detector, it hits the sensor before it thins out.
Vape across the room at head height and most alarms will not react. Cloud-chase directly below one and you are asking for trouble.
Which detector types are triggered
Not all alarms respond the same way. Two common household types are the ones to watch.
- Optical (photoelectric) detectors. These shine a light beam inside the chamber and trigger when particles scatter it. Vapour scatters light just as smoke does, so these are the most easily set off by a cloud.
- Ionisation detectors. These sense particles disrupting a small electric current. Dense vapour can disrupt it enough to trip the alarm, though they are generally a touch less twitchy with vapour than optical units.
Heat detectors, common in kitchens, respond to temperature rather than particles, so vapour will not touch them. If you know which sensor is on your ceiling, you know how careful to be.
Vaping safely near alarms at home, work and hotels
The golden rule is simple: never disable a smoke alarm to vape. Not at home, not in a hotel, not anywhere. A working smoke alarm is a life-safety device, and covering, unhooking or pulling the battery from one is never worth it.
Some practical habits that keep the peace:
- Vape away from ceiling-mounted detectors. Keep a good distance and aim your exhale low and to the side, not up.
- Open a window. Air movement disperses vapour before it reaches the sensor.
- Mind hotel rooms especially. Many carry vaping penalties, and setting off the alarm can mean an evacuation and a hefty charge on your bill. Check the policy and step outside if in doubt.
- At work, follow the site rules. Most UK workplaces treat vaping like tobacco and expect you to use a designated outdoor area.
For a fuller picture of where you can and cannot vape across the UK, have a look at our UK Vaping Laws, Safety & Compliance hub.
Repair, Replace or Recycle? Warranty & UK Disposal
If your vape still will not fire after the fixes above, the next step is working out which part has actually failed. Do that before you spend a penny, because half the time it is a £3 coil, not a dead device.
How to test: is it the battery, atomiser or connection?
The swap test isolates the fault in under two minutes. You are looking to change one variable at a time and see what brings the vape back to life.
- Test the atomiser: fit a known-good coil or pod. If it fires now, your old coil or pod was the culprit, not the device.
- Test the battery: put your tank or pod on a different mod you know works, or drop a fresh cell into a mod with removable batteries. Fires elsewhere? The original battery or its board is the issue.
- Test the connection: wiggle the tank or pod while pressing fire. Intermittent firing points to dirty terminals or a stuck firing pin, which is a clean, not a replacement (see the terminals section above).
Signs a battery is genuinely dead rather than just flat: it will not take charge at all, it charges then drops instantly, or it runs hot on the terminal. A vape that charges fully and still will not fire usually has a board or connection fault, not a battery fault.
When to claim warranty vs buy new
Most pod kits and mods carry a manufacturer warranty, usually three to twelve months, covering the device but not consumables. Coils, pods and glass are wear parts and are almost never covered.
Rough decision line we use in the shop:
- Claim warranty if the device is inside its window and the fault is the board, the fire button or the charge port. Keep your order confirmation, most UK retailers will need proof of purchase.
- Buy new if the kit is out of warranty and the repair part costs more than half a replacement, or if it is an older model where pods are getting hard to find.
- Buy new if it is a disposable or a big-puff device. There is nothing to repair inside one, and it has reached the end of its life.
If you are replacing rather than repairing, our How To Choose Your First Vape Kit guide covers what to look for so you do not end up back here in six months.
Recycling a dead vape in the UK
Never put a vape in your household bin. It contains a lithium battery, and crushed lithium cells are a genuine fire risk in bin lorries and at sorting facilities. This is the single biggest cause of the waste-stream fires the recycling industry has been flagging.
Under WEEE regulations, GOV.UK confirms that retailers selling electricals must provide a way to take back old electrical items for recycling, and vapes count. In practice that means:
- Most vape shops and many supermarkets have a drop-off bin for old devices and disposables.
- Larger retailers must offer takeback either in store or via a collection service.
- Local council household waste centres take small electricals including vapes.
Empty your tank or pod first, then hand the device over intact so the battery can be separated properly. For the full breakdown of drop-off points and what happens to the cells, have a look at How to Recycle Vapes in the UK.
Frequently Asked Questions
Nine times out of ten it's fire-locked rather than faulty, so give the fire button five rapid clicks to toggle the lock off. If that doesn't sort it, check your pod or coil is seated properly and that the contacts aren't gunked up with old e-liquid, as this breaks the circuit. Have a look at the screen too, as most kits flash an error symbol when they can't detect an atomiser.
Press the fire button five times in quick succession and the lock will toggle off. This exact fix comes up constantly in UK searches, so you're definitely not alone in getting caught out by it. It's worth building the habit of checking this first before you assume something's actually broken.
Yes, a decent cloud of vapour can trip both optical and ionisation smoke detectors, particularly in enclosed spaces like bathrooms or hallways. We'd always recommend vaping away from ceiling-mounted detectors if you're indoors and unsure of the sensitivity. Never disable a smoke alarm to get around this, as that's a safety risk not worth taking.
It usually points to either your device's firing status or a lock and error state, so it's worth checking the blink-code table in your instructions to see exactly what's flagged. Before you assume there's a genuine fault, reseat the pod and give the device a proper charge, as this clears the issue more often than you'd think. A quick recheck after that usually tells you whether you're dealing with user error or something that needs a proper look.
Check for an airflow sticker or pull-tab that's still covering the intake, as this is a surprisingly common culprit and an easy fix. If that's clear and it still won't fire, the battery has likely run flat, and most disposables aren't designed to be recharged. At that point it's simply reached the end of its life and it's time to pick up a fresh one.
Give the coil a few minutes to properly saturate before firing again, as a dry hit or gurgling sound usually means it hasn't had time to soak through. If you've overfilled or tipped the tank, excess e-liquid can flood the atomiser and effectively choke the firing mechanism. Tip out any pooled liquid from the airflow slots and let it settle before trying again.
A dry cotton bud does the job for most day-to-day grime on the battery terminals and 510 threads, or use a small amount of isopropyl alcohol for a deeper clean. Let everything dry fully before reassembling to avoid any residue affecting the connection. One thing to avoid entirely is adjusting the firing pin on mechanical or hybrid mods, as that's a job best left alone unless you really know what you're doing.
Start by swap-testing the coil and battery with ones you know work, as this quickly isolates whether the fault sits with a part or the device itself. If it's still under warranty, get in touch with the retailer before attempting any fixes yourself. Where a device is genuinely dead, take it to a UK vape retailer for proper lithium battery recycling rather than binning it at home.
About the author

Related guides
Why Does My Vape Taste Burnt? Causes, Fixes & How to Prevent It
Why does my vape taste burnt? Learn the causes behind burnt hits on coils, pods and disposables, plus fast fixes and prevention tips.
Why Is My Vape Leaking? Causes & Fixes
Vape leaking juice into your mouth or air holes? Find out why is my vape leaking by symptom, then fix it fast, from flooded coils to loose seals.
Why Is My Vape Spitting? Causes & Fixes
Vape spitting juice into your mouth? Diagnose user error vs a faulty coil, get device-specific fixes and learn when to replace your coil. UK guide.