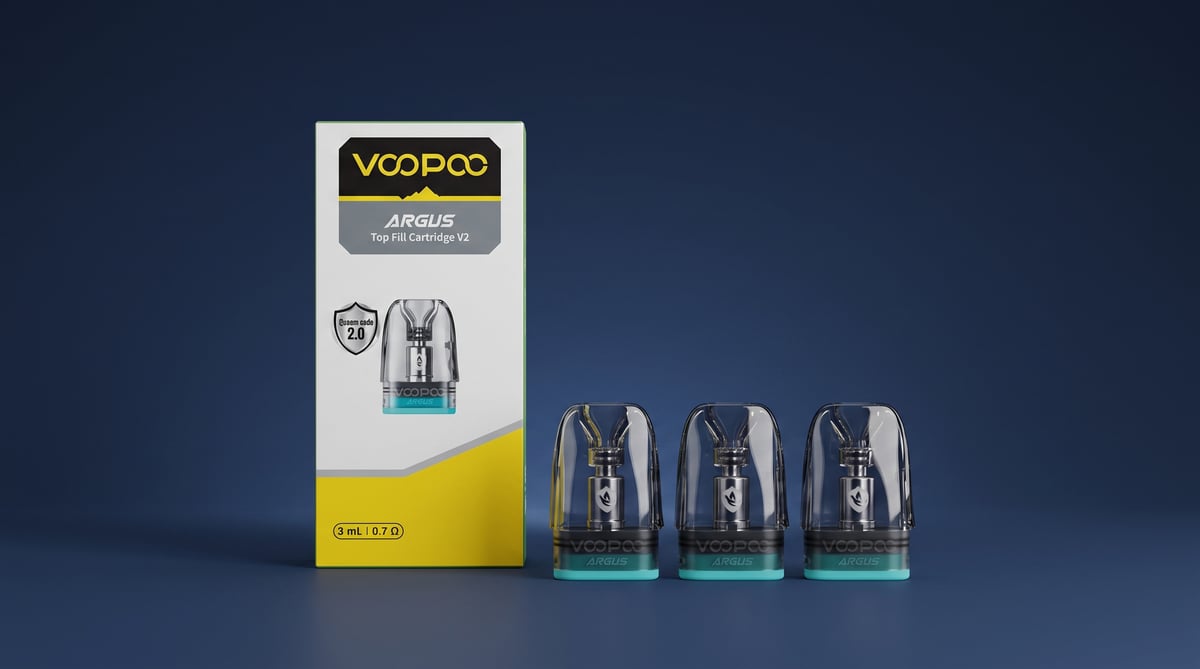
Vape Pod vs Coil: What's the Difference (And Which Do You Need)?

A pod is simply the liquid-holding chamber and the coil is the part that heats it, and once you know which your kit uses, everything else, cost, flavour and replacement timing, sorts itself out. Below we cover built-in versus replaceable coils, how to decode coil codes like Geekvape's XM and Z series, and how resistance and wattage pair with your e-liquid. For the vape pod vs coil - what's the difference question, this is the bit that actually settles it, with the running costs compared at the end.
Pod vs Coil
Here is the short version: a pod holds your e-liquid, a coil turns that liquid into vapour. They are two different parts doing two different jobs, and the confusion comes from the fact that some pods have the coil hidden inside them.
If you are still getting your bearings on kit types in general, our Vape Devices Explained guide covers the full lineup.
Pod The refillable or prefilled chamber that clips onto your battery and holds the e-liquid. Needs replacing when: the plastic clouds up, the flavour drops off, or (on built-in-coil pods) the coil inside gives up, usually every one to two weeks.
Coil The resistance wire wrapped around a cotton wick. Press fire, the wire heats, the liquid in the wick becomes vapour. Needs replacing when: you get a burnt or muted taste, typically after one to three weeks depending on how hard you vape and how sweet your liquid is.
What a vape pod actually is
A pod is the container. It holds your liquid and connects to the battery, and in most modern kits it clips on and off with a magnet or a firm push. That is the whole role: a refillable (or prefilled) reservoir sat on top of the power.
The catch is that some pods have the coil built permanently inside them. When people say "my pod has gone", they usually mean the coil inside that pod has burnt out and the whole pod needs binning.
What a vape coil (atomiser) actually is
A coil is a piece of resistance wire wound around a wick, and the wick is usually cotton. The liquid soaks into the cotton, the wire heats up when you draw, and that heat vaporises the liquid. Sometimes you will see it called an atomiser or a coil head, but it is the same component.
The resistance, measured in ohms, decides the kind of vape you get:
- Higher resistance (around 0.8 ohm and up): cooler, tighter, better on 50/50 salts. Across the mesh coils we stock, 0.8 ohm pods are the sweet spot most of our customers settle on for 50/50 salts.
- Lower resistance (below 0.6 ohm): hotter firing, more vapour, more flavour, best fed with higher-VG shortfills.
Push a coil hotter and it produces more vapour, but it will also wear out sooner. That is the trade-off in a nutshell.
Why the terms get confused
Two things muddy the water.
First, built-in-coil pods. When the coil is sealed inside the pod, the two words start to mean the same thing to a lot of people, because you replace them as one unit.
Second, modern kits blur the line on purpose. Plenty of "pod kits" now take separate swappable coils, the same way a proper sub-ohm tank does. That closes the gap between pod systems and tank systems, so a device labelled a pod kit can behave a lot like a small tank. Once you know which of the two your device uses, everything downstream, cost, flavour, replacement timing, falls into place.
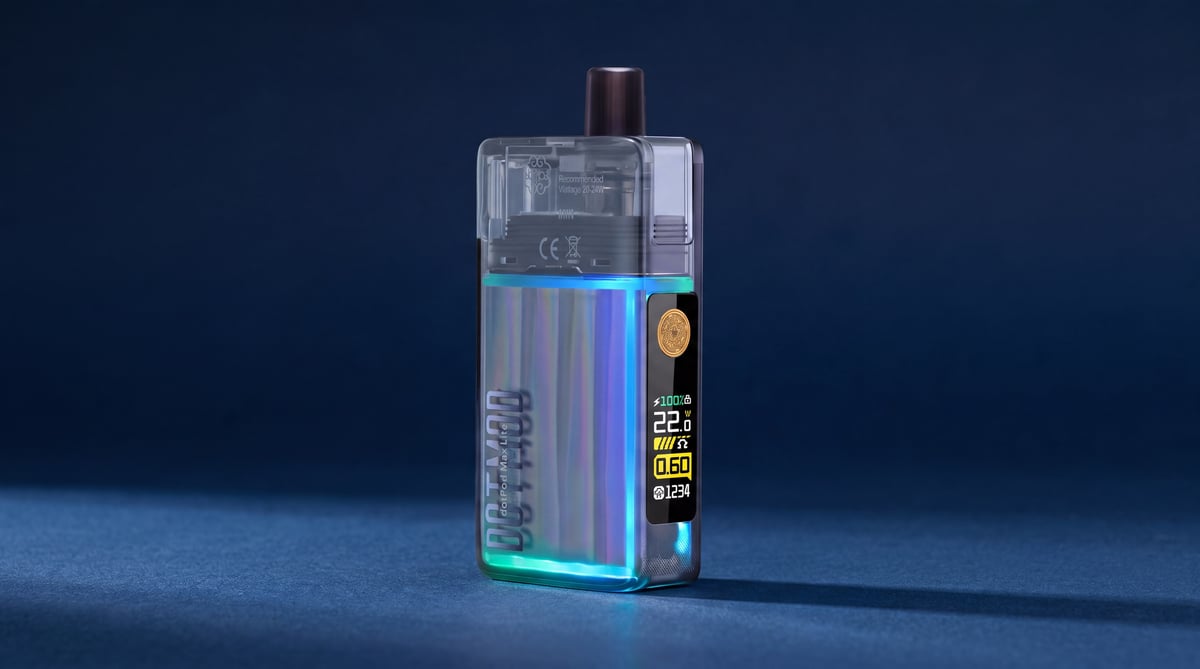
Built-In Coils vs Replaceable Coils
The single biggest fork in the road once you go refillable is whether the coil lives inside the pod or slots in separately. It changes how much you spend, how often you tinker, and how much you throw away.
Pods with built-in coils (replace the whole pod)
With a built-in coil, the heating element is sealed inside the pod itself. When the coil starts tasting burnt or the flavour drops off, you bin the whole pod and click in a fresh one. No fiddling, no seals to line up.
- Simpler to live with, which is why they suit switchers and pod-kit users
- Fewer moving parts means fewer places for e-liquid to leak from
- The catch: you pay for the plastic housing every single time, not just the coil
This is the setup most refillable pod kits ship with, and for good reason. There is very little that can go wrong.
Pods and tanks with replaceable coils
Here the coil is a small separate part that screws or pushes into the pod or tank. When it dies, you swap the coil alone and keep the housing. Most sub-ohm tanks and higher-end pods work this way.
- Cheaper per swap since you are only replacing the coil, not the whole pod
- You can tune the vape by fitting a different resistance to change wattage range and airflow feel
- The trade-off: every new coil needs priming and correct fitting, or you will chase a burnt first hit
Get the priming right and this setup rewards you. Our own testing backs this up: leaving a mesh coil to soak for a good five minutes before the first pull is the single biggest thing that stops a burnt first hit. If you are new to it, our guide on how to prime a vape coil / pod walks you through it step by step.
However you go, coil lifespan comes down to how you use it. Heavy vaping, high-VG liquids, sweetened flavours and higher wattage all wear a coil faster. Most last one to two weeks, with the tell-tale signs being a burnt taste, darker cotton and weaker flavour on the exhale. We break the variables down in full in how long do vape coils last?.
Pros and cons side by side
Built-in coil pod
- Cost per swap: higher, you replace the whole pod
- Leak-resistance: better, sealed unit with fewer failure points
- Flavour control: limited, you take the coil you are given
- Maintenance: minimal, click in and vape
- Waste: more, the housing goes in the bin each time
Replaceable coil
- Cost per swap: lower, coil only
- Leak-resistance: more seals to seat, so more room for error
- Flavour control: strong, switch resistance to tune the vape
- Maintenance: priming and correct fitting needed every time
- Waste: less, you keep the pod or tank
Neither wins outright. Built-in pods trade money and waste for an easy life; replaceable coils ask a little more of you and pay it back in running cost and control.
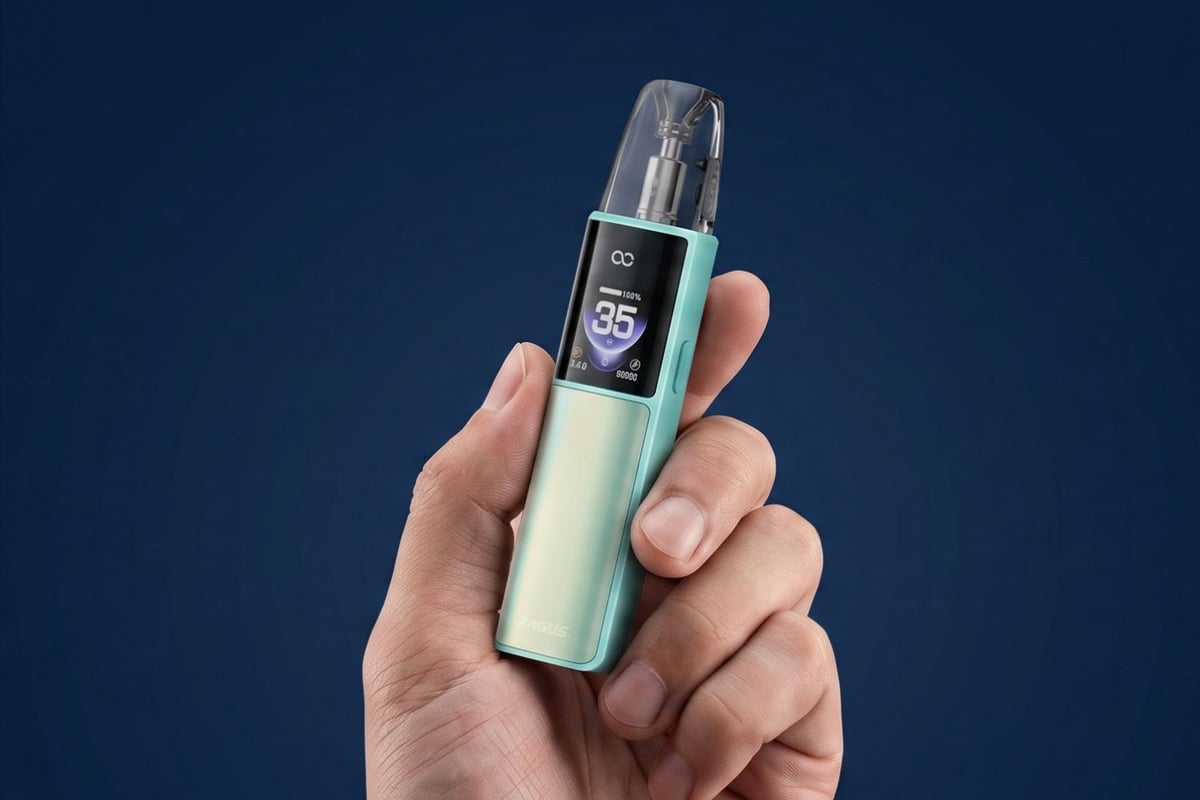
Decoding Coil Codes: Geekvape XM vs Z Series Explained
Coil naming looks like alphabet soup until you know the pattern. Geekvape is a good worked example because two of their most common lines, XM and Z, sit next to each other on the shelf and trip people up constantly.
What the XM coil is and what it's for
The Geekvape XM coil is the newer mesh coil from the B-series family, used across the Wenax and Sonder-style pod kits. Mesh means a sheet of perforated metal rather than a single wound wire, which gives you a bigger heating surface, smoother flavour and better coil longevity in day to day use.
XM coils are built for pod systems and lighter MTL to restricted DTL vaping, depending on the resistance you pick. They cover a useful spread, so you can run a tighter 1.0Ω+ option on nic salts or drop to a sub-ohm coil for more vapour on a higher-VG shortfill.
XM vs Z coil compatibility
Here is the bit that catches people out: XM and Z are separate lineups and they are not cross-compatible, despite the similar naming and similar look.
- XM coils slot into the newer B-series pods (Wenax, Sonder style).
- Z coils are a different mount entirely, built for the Zeus family of sub-ohm tanks.
- A Z coil will not seat correctly in an XM pod, and vice versa.
Always buy the coil that matches your specific kit, not just the brand. If your kit shipped with a coil, the model code stamped on it (or printed on the box) is your reference, not the family name alone.
How to read resistance (ohms) and wattage ranges
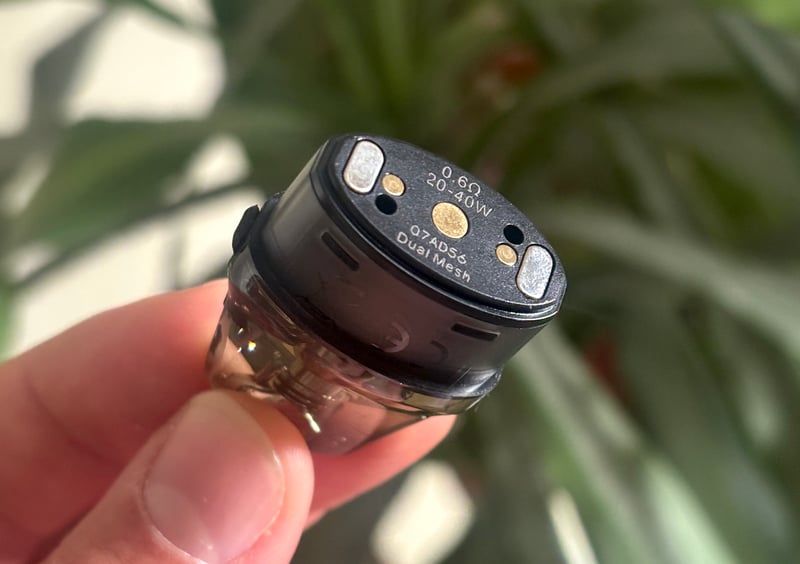
Every coil is stamped with two numbers that tell you almost everything: its resistance in ohms and its wattage range. Match both to your device and your e-liquid and you avoid dry and burnt hits.
- Lower resistance (sub-ohm, roughly 0.4 to 0.8Ω): more power, bigger clouds, direct-to-lung. Pair with higher-VG e-liquid.
- Higher resistance (1.0Ω and up): less power, tighter mouth-to-lung draw, warmer throat hit. Pair with nic salts and 50/50 liquid.
The stamped wattage range is the important one. Fire a coil above its range and you scorch the wick before the liquid can keep up; run it too low and the vapour goes thin and cool. Set your device inside that range and stay there.
Sub-ohm mesh (DTL)
- Resistance: 0.4Ω
- Suggested wattage: 25 to 40W
- Style: direct-to-lung
- Best e-liquid: high-VG shortfill (70/30)
Restricted DTL / RDTL
- Resistance: 0.6 to 0.8Ω
- Suggested wattage: 15 to 25W
- Style: loose MTL to restricted DTL
- Best e-liquid: 50/50 to 60/40, salts or freebase
MTL pod (mouth-to-lung)
- Resistance: 1.0Ω+
- Suggested wattage: 10 to 15W
- Style: tight mouth-to-lung
- Best e-liquid: 50/50 nic salts
For the full breakdown on pairing juice to every resistance band, have a look at our guide on How To Match E-Liquid To Your Coil. And if the MTL and DTL terms are new to you, start with Vaping Styles Explained: MTL vs DTL vs RDTL before you pick a coil.
Cost Comparison: Pod System vs Coil/Tank Over Time
The single biggest lever on your running cost is not the hardware, it is how many coils or pods you burn through. A replaceable coil almost always costs less per unit than a full built-in pod, because you are only paying for the coil, not the plastic housing around it. For a heavy daily vaper, that difference adds up fast.
Built-in pods carry a small convenience premium. You swap the whole thing, no fiddling with tiny coils, less chance of a leak while you learn the ropes. For beginners and switchers that trade-off is often worth it. For a regular vaper going through a coil or more a week, replaceable coils and a tank work out cheaper over a year.
Price per pod vs price per coil
A rough guide from what we stock:
- Replaceable coils: usually sold in packs of 3 to 5, working out to a low single-figure cost per coil.
- Built-in pods: sold in packs of 2 or 3, priced a little higher per unit because the pod body is part of the deal.
- Coil lifespan is the same either way: expect a mesh coil to last roughly one to two weeks on 50/50 salts, less if you vape sweet, dark shortfills that gunk the wick faster.
The pod format buys you speed and cleanliness. The coil format buys you a lower cost per week once you are comfortable swapping coils.
Weekly and monthly running costs
Your weekly cost breaks down into two lines: coils (or pods) and e-liquid. E-liquid is usually the bigger number, especially on a sub-ohm tank that drinks juice.
A realistic middle-of-the-road example, someone getting through around 5ml of liquid a day:
- Refillable pod, 50/50 salts: one 0.8 ohm coil or pod a week, plus roughly two to three 10ml bottles a week.
- Sub-ohm tank, high-VG shortfill: a mesh coil every one to two weeks, plus noticeably more liquid because DTL vaping burns through it.
Sub-ohm setups usually cost more per week on liquid alone, even though the coils are not dramatically dearer. If you are watching your outlay, a pod system on salts is the vape system to run day to day.
Total cost of ownership
Over a year, the hardware cost washes out. A pod kit and a sub-ohm tank both cost a modest one-off amount, and after a few months the coils and liquid are the whole story. That is where the pod-vs-coil cost question actually gets settled.
Built-in-coil pod
- Per day: ~£0.50 pod share
- Per week: ~£3.50 pods
- Per month: ~£15 pods
- Per year: ~£180 pods, before liquid
Highest per-unit cost, lowest hassle. Best for beginners.
Replaceable-coil pod
- Per day: ~£0.25 coil share
- Per week: ~£1.75 coils
- Per month: ~£7.50 coils
- Per year: ~£90 coils, before liquid
Roughly half the coil spend of built-in pods for the same vape.
Sub-ohm tank
- Per day: ~£0.30 coil share
- Per week: ~£2 coils
- Per month: ~£8.50 coils
- Per year: ~£100 coils
Coils are close to replaceable pods, but liquid consumption pushes the real total higher.
Treat those figures as a working illustration, not a quote. Your mileage shifts with coil lifespan, how sweet your liquid is and how often you chain-vape. The pattern holds though: replaceable coils beat built-in pods on cost over time, and salts on a pod kit sip liquid where a sub-ohm tank gulps it.
For the bigger picture on what vaping costs against the pack-a-day alternative, we have run the numbers in our Vaping vs Smoking: Cost & Health Comparison.
Flavour, Throat Hit & Clouds: How Each Setup Performs
The setup you run shapes the vape more than the liquid does. Match the coil to the juice and everything falls into place. Mismatch them and you get harsh hits, thin flavour or a coil that dies in days.
Flavour intensity and longevity
Lower-resistance mesh coils deliver warmer, fuller flavour. More surface area heats more liquid, so the vape hits harder and richer on the exhale. That is the trade-off with a sub-ohm tank or a mesh pod: brighter, bolder flavour, but it drinks liquid and the coil wears faster.
Higher-resistance MTL coils and pods run cooler and tighter. Flavour is more focused than expansive, closer to the crisp menthol-and-tobacco character ex-smokers tend to want. The upside is longevity. A cooler-firing coil collects gunk more slowly, so it lasts longer between changes.
On the pod vs tank flavour question:
- Pods favour clarity and control, ideal for salts and cooler MTL profiles
- Sub-ohm tanks favour intensity and warmth, ideal for high-VG dessert and fruit blends
Throat hit and nicotine delivery
Throat hit comes down to nicotine type and coil resistance working together.
- Nic salts in a higher-resistance pod (0.8 ohm or above) give a smooth, satisfying hit even at 20mg, the TPD maximum in the UK. That smoothness is why switchers and ex-smokers get on so well with them.
- Freebase nicotine hits sharper in the throat at the same strength, which is why freebase liquids are usually sold at lower strengths for sub-ohm use.
For the best coil for throat hit, a tighter MTL draw amplifies the sensation. The restricted airflow concentrates the vapour, so you feel it more on the inhale. Open the airflow right up on a sub-ohm coil and the hit softens as the vapour spreads out and cools.
Full detail on why salts feel smoother sits in our What Are Nic Salts? guide.
Cloud production expectations
Clouds are a resistance-and-VG story. If you want vapour, you need a low-resistance coil and a high-VG liquid feeding it.
- Sub-ohm mesh coils (typically under 0.6 ohm) with high-VG freebase liquid produce the biggest, densest clouds
- MTL pod coils with 50/50 salts produce modest vapour by design, closer to the tighter draw a cigarette gives
The pairing that matters most, and the one people get wrong: which coil for nic salts. Salts belong in higher-resistance pod coils. Freebase high-VG liquid belongs in sub-ohm coils. Put a thick 70/30 shortfill through a tight 1.0 ohm pod and it will struggle to wick, leaving you with dry hits. Put thin 50/50 salts through a sub-ohm mesh coil and you flood it, and you are inhaling 10mg of salt through a device built for far lower strengths.
The ratio driving all of this is the VG-to-PG split. If the numbers on the bottle mean nothing to you yet, start with Understanding VG & PG in E-Liquid, then match the liquid to your coil from there.
Troubleshooting: Dry Hits, Leaks & Weak Vapour
Most vaping problems come down to three culprits: a coil that has not soaked, a seal that has given up, or the wrong pairing of liquid and coil. Here is how we diagnose each one on the bench.
Why you get a burnt/dry hit
A dry hit is that harsh, acrid rasp at the back of your throat, and nine times out of ten it means the wick inside the coil is not saturated. The cotton has fired dry, scorched, and now every pull tastes burnt.
Work through this in order:
- Unprimed coil. Fresh coil, first vape, no soak. In our own testing, priming a mesh coil for a good five minutes before the first pull is the single biggest thing that stops a burnt first hit. Drip a few drops directly onto the exposed wicking ports, fill the pod, then leave it to stand for 5 to 10 minutes.
- Empty or near-empty pod. If the liquid drops below the wick ports, the wick starves. Keep pods and tanks above a quarter full and you sidestep most dry hits.
- Too much wattage for the coil rating. Fire a 0.8 ohm coil rated for 15 watts at 25 watts and you will boil the wick faster than the liquid can replace it. Stay inside the printed range on the coil.
- Chain vaping. Rapid back-to-back puffs outpace the wick. Give it a couple of seconds between pulls.
Why pods and coils leak
Leaking is nearly always mechanical rather than a fault with the liquid itself. The usual suspects:
- Overfilling. Fill to the line, not past it. Excess liquid has nowhere to go but out through the airflow.
- Worn or displaced seals. The rubber O-rings around a replaceable coil perish over time. Reseat the coil, and if it still weeps, swap it.
- A cracked pod. Hairline cracks around the coil housing let liquid seep out under the pod. If you have dropped it, inspect it in good light.
- Vaping too gently for a sub-ohm coil. A big mesh coil needs a firm, steady draw to pull liquid through and turn it to vapour. Soft, hesitant puffs let it pool and leak instead.
Leaks and spitback are close cousins, so if you are getting hot liquid on your lips as well, work through our dedicated guides: Why Is My Vape Leaking? and Why Is My Vape Spitting?.
Fixing weak or faint vapour
Thin, faint vapour that used to be thick is usually a coil at the end of its life, but rule out the quick wins first:
- Worn coil. Gunked wick, muted flavour, weak clouds. Pod coils typically run a couple of weeks with daily use. If yours has darkened and flavour has flattened, replace it.
- Low battery. A draining battery drops the power delivered to the coil. Charge it and see if vapour returns.
- Incorrect wattage. Firing too low leaves the coil struggling to reach temperature. Nudge the power up within the coil's stated range.
- Wrong VG/PG for the coil. Thick 70/30 shortfill in a high-resistance MTL pod will wick slowly and produce thin vapour, while a thin 50/50 salt in a sub-ohm tank floods and underperforms. Match the liquid to the coil: 50/50 for pods, higher-VG shortfills for sub-ohm.
Get the pairing right and the vapour follows. If it is still weak after a fresh coil and a full charge, the coil rating and your e-liquid are almost certainly mismatched.
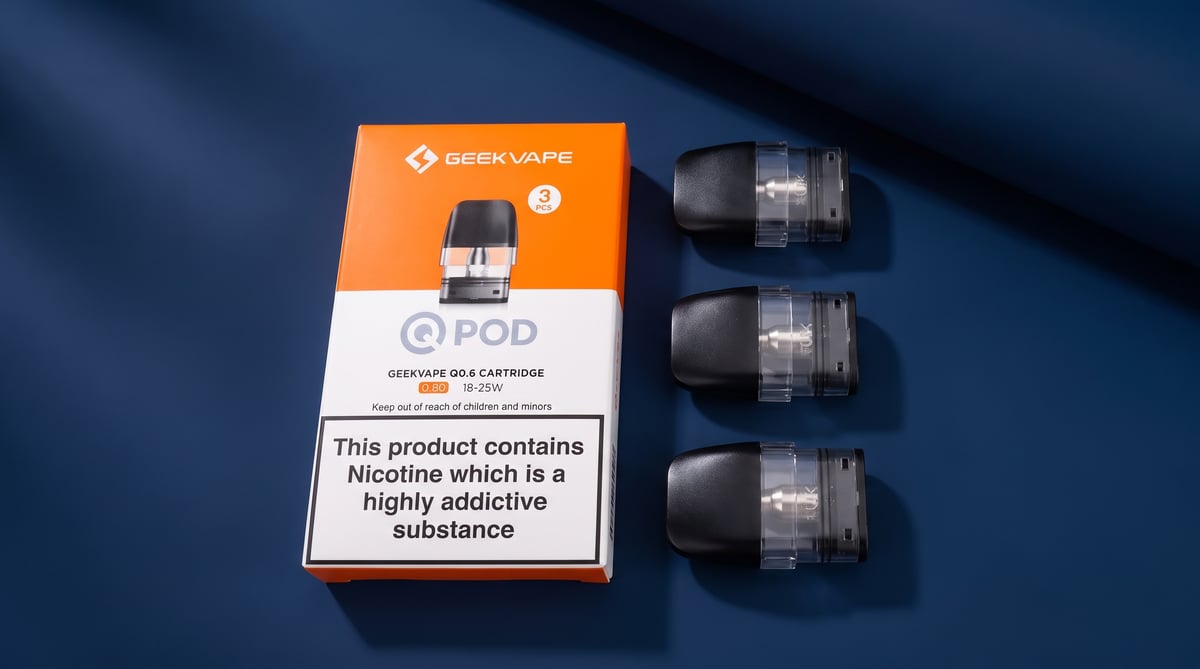
Environmental Impact & Which System Wins for Waste
If you care about how much you throw away, the coil versus pod question matters more than most guides let on. The short version: swappable coils beat built-in pods, and both beat disposables handily.
Disposable pods vs replaceable coils
A built-in coil pod means binning the whole plastic housing every time the coil wears out. A replaceable coil is a small metal-and-cotton part, so you keep the tank or pod shell and just swap the coil.
- Built-in coil pods: the entire pod goes in the bin, plastic body included, every one to two weeks
- Replaceable coils: only the coil head is replaced, the tank stays in service for months or longer
- Whole disposables: the worst of the lot, a battery, coil and plastic shell thrown away after a few days
For pure waste, replaceable coils in a refillable tank or pod kit generate far less plastic over time. You are ditching a coil the size of a thimble rather than a whole cartridge.
Reducing your vaping waste
The lowest-waste reusable setup is a refillable pod kit or tank with swappable coils, filled from bottles rather than pre-filled cartridges. That combination cuts both the hardware you replace and the packaging you get through.
A few practical moves:
- Choose kits with replaceable coils over sealed built-in pods where you can
- Refill from 10ml salts or shortfills instead of buying pre-filled pods
- Prime coils properly so they last their full life. In our own testing, priming a mesh coil for a good five minutes before the first pull is the single biggest thing that stops a burnt first hit, and a coil that lasts longer is one you replace less often
- Look after your battery and shell so the durable parts stay in use
If you are still on disposables, moving up is the biggest single change you can make. Our guide on How To Switch From Disposables To Reusable Vapes walks through it, and we have seen more switchers move from big-puff disposables to refillable pods since the 2026 duty landed.
Recycling in the UK
Vape hardware, coils and pods should never go in your general waste. They contain electronics, batteries and metal, so they belong at proper collection points, not the household bin.
Most vape shops and many supermarkets now run take-back points for used kit, coils and disposables. For the full breakdown of where to take what, read our How to Recycle Vapes in the UK guide. Recycled properly, a worn coil and its packaging cause far less harm than the same items landfilled.
Which Should You Choose? Recommendations by Vaper Type
The honest answer: match the kit to how you vape, not to spec sheets. We run refillable pod kits day to day and sub-ohm tanks in the evenings, so we mix salts and shortfills in roughly equal measure, and the right setup changes with the mood. Here is how it shakes out for the three most common vapers who ask us "pod or tank, which is better for me".
Beginner: built-in-coil pod Simple, sealed, no coil fiddling. A device like the XROS 6 or Caliburn G5 draws MTL, sips 50/50 salts and just works. When the flavour fades, you swap the whole pod.
Ex-smoker: MTL nic-salt pod Higher-resistance coil, tight airflow, a proper throat hit on 10 or 20mg salts. This is the setup most switchers settle into for a cigarette-like draw.
Tuner: replaceable-coil pod-mod Adjustable wattage and airflow, swappable coils from MTL to sub-ohm. More flavour, more control, a bit more upkeep.
Cloud chaser: sub-ohm tank device Mesh coils under 0.6 ohm, high-VG shortfills, big airy DTL draws. Maximum vapour and flavour, at the cost of thirstier coils and more frequent refills.
Best for total beginners
Keep it simple. A built-in-coil pod kit is the lowest-maintenance way to start.
- XROS 6 or Caliburn G5: sealed pods, tight MTL draw, made for 50/50 nic salts
- No coil priming, no wattage to set, no leaks from over-tightening
- When flavour drops off, swap the pod and carry on
The trade-off is running cost over time, but for your first few months that convenience is worth it. If you are weighing up your very first device, our How To Choose Your First Vape Kit guide walks through the lot.
Best for ex-smokers wanting throat hit
Go MTL with a higher-resistance coil and nic salts. That combination gives the tight, cigarette-like draw and the throat hit switchers are after.
- Coils around 0.8 to 1.0 ohm, tight airflow
- 10 or 20mg nic salts (20mg is the TPD ceiling in the UK, and it delivers a firm hit)
- Both built-in pods and replaceable-coil kits cover this, so pick on how much maintenance you fancy
We have seen more switchers move from big-puff disposables to refillable pods since the 2026 duty landed, and an MTL salt pod is the natural landing spot.
Best for cloud chasers and flavour
If you want vapour volume and the ability to tune your vape, go replaceable-coil. A pod-mod or a sub-ohm tank opens up the full range.
- Mesh coils under 0.6 ohm for big DTL clouds
- Adjustable wattage and airflow to dial in flavour
- High-VG shortfills (70/30 or higher) to feed the coil properly
Expect to prime coils and refill more often. In our own testing, priming a mesh coil for a good five minutes before the first pull is the single biggest thing that stops a burnt first hit. That bit of upkeep is the price of the flavour and clouds a good sub-ohm setup delivers.
Frequently Asked Questions
The pod is the reservoir that holds your e-liquid and clicks onto the battery, while the coil is the heating element inside that actually vaporises it. Think of the pod as the fuel tank and the coil as the engine doing the work. Some pods come with a coil built right in, whilst others use a separate pod-and-coil system where you swap just the coil and keep the shell.
XM coils are Geekvape's newer mesh coil family found in certain pod kits, offering a different mesh structure and resistance range to the older Z series. They're built for different devices and aren't interchangeable despite the similar naming convention. Always check your specific kit's supported coil list before buying replacements, as fitting the wrong one simply won't seat properly.
Replaceable coils work out cheaper per swap if you're vaping daily, since you're only paying for the heating element rather than a whole new pod shell. Built-in coil pods cost a touch more each time, but they save faff and tend to leak less because everything's sealed as one unit. If you're after value over months of use, a device with swappable coils usually wins.
The telltale signs are a burnt or muted flavour, noticeably less vapour, and a gurgling sound from the pod. Most coils last around one to two weeks depending on how much you vape and what e-liquid you're running through them, with sweeter or higher-VG juices typically gunking coils up faster. Don't wait for it to taste properly burnt, swap it as soon as the flavour starts fading.
Higher-resistance MTL coils, usually 1.0 ohm and above, suit nic salts and give that tighter, cigarette-like draw most switchers want. Lower-resistance sub-ohm coils under 0.6 ohm are built for high-VG freebase e-liquid, pushing more power through for bigger clouds and a looser airflow. Matching the coil to your liquid type isn't optional, it's the difference between smooth flavour and a harsh, disappointing hit.
Nine times out of ten it's because the coil wasn't primed properly before first use, so drip a couple of drops of e-liquid directly onto the exposed mesh or cotton and let it sit for five minutes before vaping. It could also be that your device's wattage is set too high for the coil's rated range, scorching the wick faster than it can soak liquid. Check the coil's printed resistance and stick to the wattage window recommended for it.
Replaceable coils generate less plastic waste overall, since you're binning a small metal-and-cotton component rather than an entire pod shell each time. Built-in coil pods mean more plastic in the bin with every swap. Either way, proper vape hardware shouldn't go in general household waste, take it to a battery or vape recycling point, which most UK vape shops and supermarkets now offer.
About the author

Related guides
What Does Ohm Mean On A Vape? Resistance, Wattage & Coils Explained
What does ohm mean on a vape? Learn coil resistance, ideal wattage per ohm, sub-ohm vaping and MTL vs DTL, so you pick the right coil and e-liquid.
What Wattage Should I Vape At? A Guide to Getting It Right
Answer 'what wattage should I vape at?' with our UK guide: match ohms to watts, tips for nic salts and fixes for burnt or gurgling hits.
How Long Do Vape Coils Last?
How long do vape coils last? Get puff benchmarks, Vaporesso/SMOK/Voopoo lifespans, cost-per-week ROI and proven tips to make coils last longer.